


Yoga Home Practise Sequence:
The morning is the best time to practise yoga. At this time, your body and mind are well rested and you have the most energy. There are many benefits to doing a home practice sequence in the morning, but it’s also important that you’re making healthy choices for breakfast before starting your routine. The following blog post will outline 13 easy steps for a calm morning with yoga at home.
What is yoga?
What is yoga? Yoga practice includes a variety of physical, mental and spiritual practices. Today, the most common word for this system of practice is ‘yoga’. In Sanskrit—the ancient language in which many Hindu texts are written—the word “yoga” means to be yoked or joined together with an object of focus such as the Divine.
There are many types of yoga practice, such as hatha yoga and bhakti yoga which focus on different aspects of life. For example, hatha yoga is a physical practice that focuses on postures (asanas) and breathing techniques (pranayama), while bhakti-yoga is an emotional-devotional path that focuses on loving and surrendering to God.
Today, many people practise yoga as a physical exercise with various benefits such as strengthening the muscles and improving flexibility- but it can be much more than this! Yoga is an ancient system of practices that aims at achieving union between body, mind and spirit. It has been adopted by modern science in some areas such as medicine, to treat a variety of physical and mental health issues.

Why should you do home yoga practice
Is yoga practice best in the morning? The benefits of practising yoga first thing in the morning are numerous. For example, it will help calm your mind and body after a busy night. Practising at this time can enhance your physical performance for the rest of day as well as improve focus and concentration which is why many people choose to do it before work or school.
Doing yoga at home without yoga teachers will save you lots of money! Just remember practicing yoga should be fun.
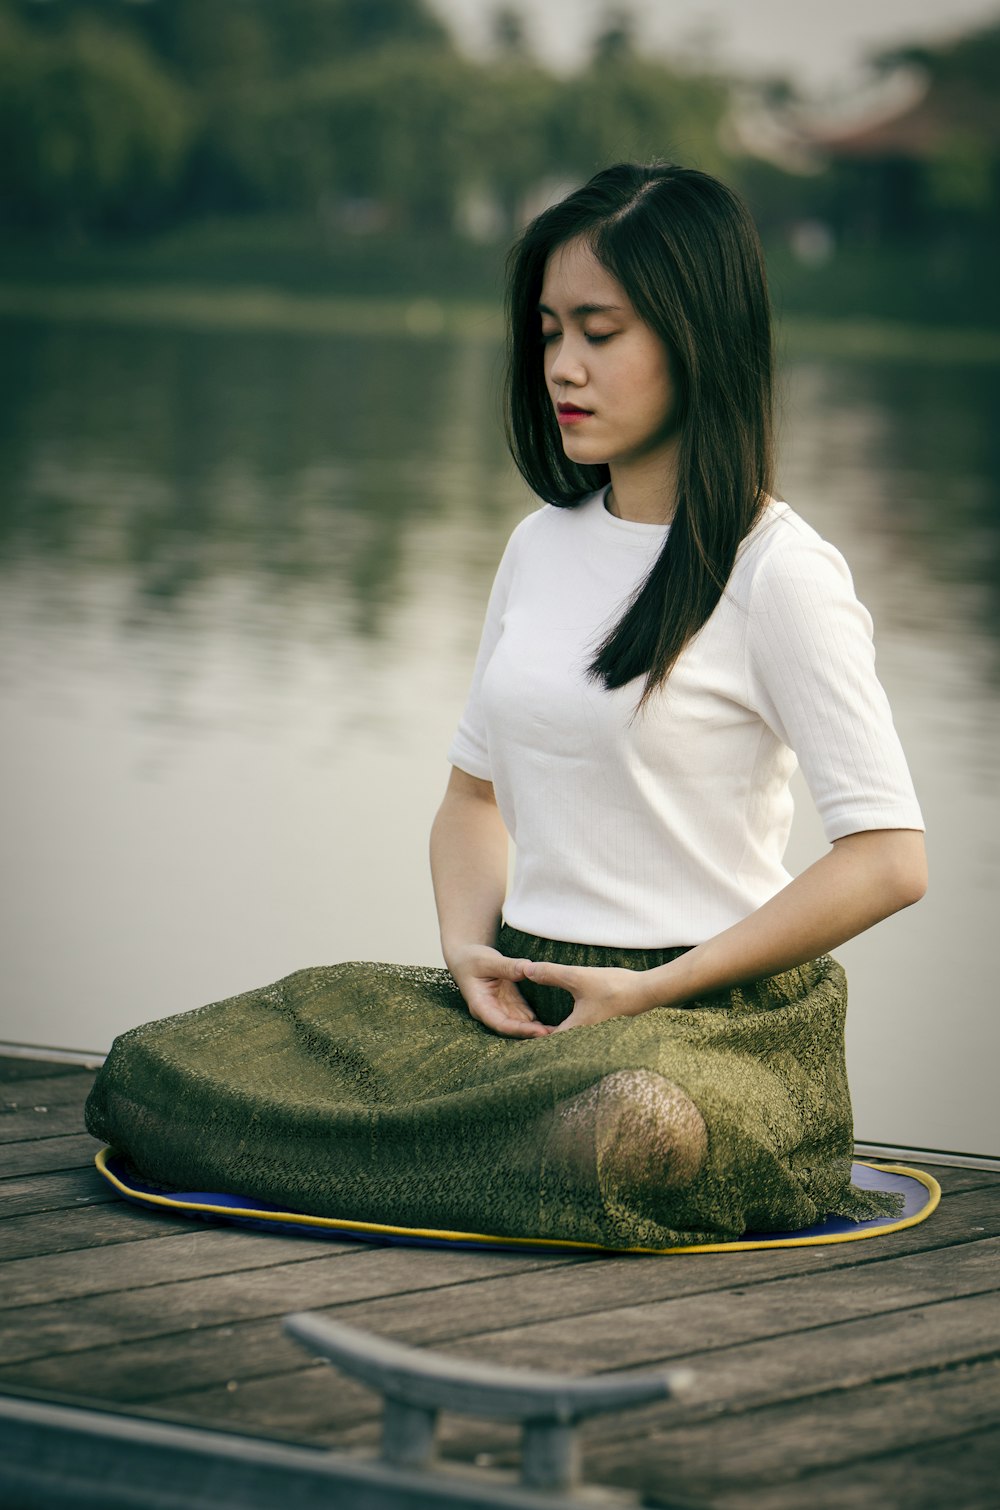
Start with a few deep, cleansing breaths
To start off your home practice start with a few deep, cleansing breaths. Yoga is all about breathing and the quality of your breath will determine how well you experience each pose or asana (physical postures). If we don’t breathe properly it’s nearly impossible to achieve mindfulness and awareness which are two important goals on the yoga path. Three main types of breathing techniques used in hatha yoga are ujjayi, Nadi shodhana and bhastrika.
Ujjayi breath is a sound made by slightly constricting the throat to produce a soft “ha” or “hh” noise on each inhalation and exhalation. To do this in your home practice, breathe in slowly through your nose and exhale slowly through your nose or mouth, keeping the throat slightly constricted.
Nadi Shodhana is a cleansing breath that involves breathing in through one nostril at a time while using the thumb to close off all other openings on both sides of your face. The right hand can be used for inhaling and closing off the left nostril while the left hand can be used for exhaling and closing off the right side.
Bhastrika is a rapid breathing technique that involves fast, strong breaths in through your nose or mouth using both inhalation and exhalation to expand the belly with each breath. It’s impossible to do this without making some sound but there’s no need to worry about that!
Once you have done a few rounds of deep cleansing breaths move on to the next step.
One pose we would recommend starting with is the corpse pose this will help you relax.

Do some gentle neck rolls to release tension in your head and shoulders
When doing a home practice do some gentle neck rolls to release tension in your head and shoulders. We spend a lot of time with our heads forward-looking at electronic devices or hunched over books, pens and paper so it’s important to give the muscles around your neck a little love first thing in the morning!
Begin by sitting tall on your yoga mat if you are at home or wherever you are if you don’t have a yoga mat. With your shoulders back and down, inhale as you lift up through the top of your head towards the ceiling to lengthen your neck. As you exhale roll both shoulder blades forward and then gently pull them back again using your upper back muscles (rhomboid) to release any tension in your neck and shoulders.
Repeat this a few times on each side of the neck to get rid of that early morning stiffness!
Gently move your arms up and down to wake up all of the muscles in your back
Gently move your arms up and down to wake up all of the muscles in your back. After waking yourself with some deep breaths, spend a few minutes gently moving your arms around while breathing normally. This will help get rid of any kinks or stiffness you might have from sleeping on it wrong!

Start by raising both hands above your head and stretching your arms up towards the ceiling. Then, with palms facing down and keeping your shoulders back, slowly lower both hands as you make a soft fist to stretch all of those muscles in your upper back.
Repeat this several times before moving on to the next step!
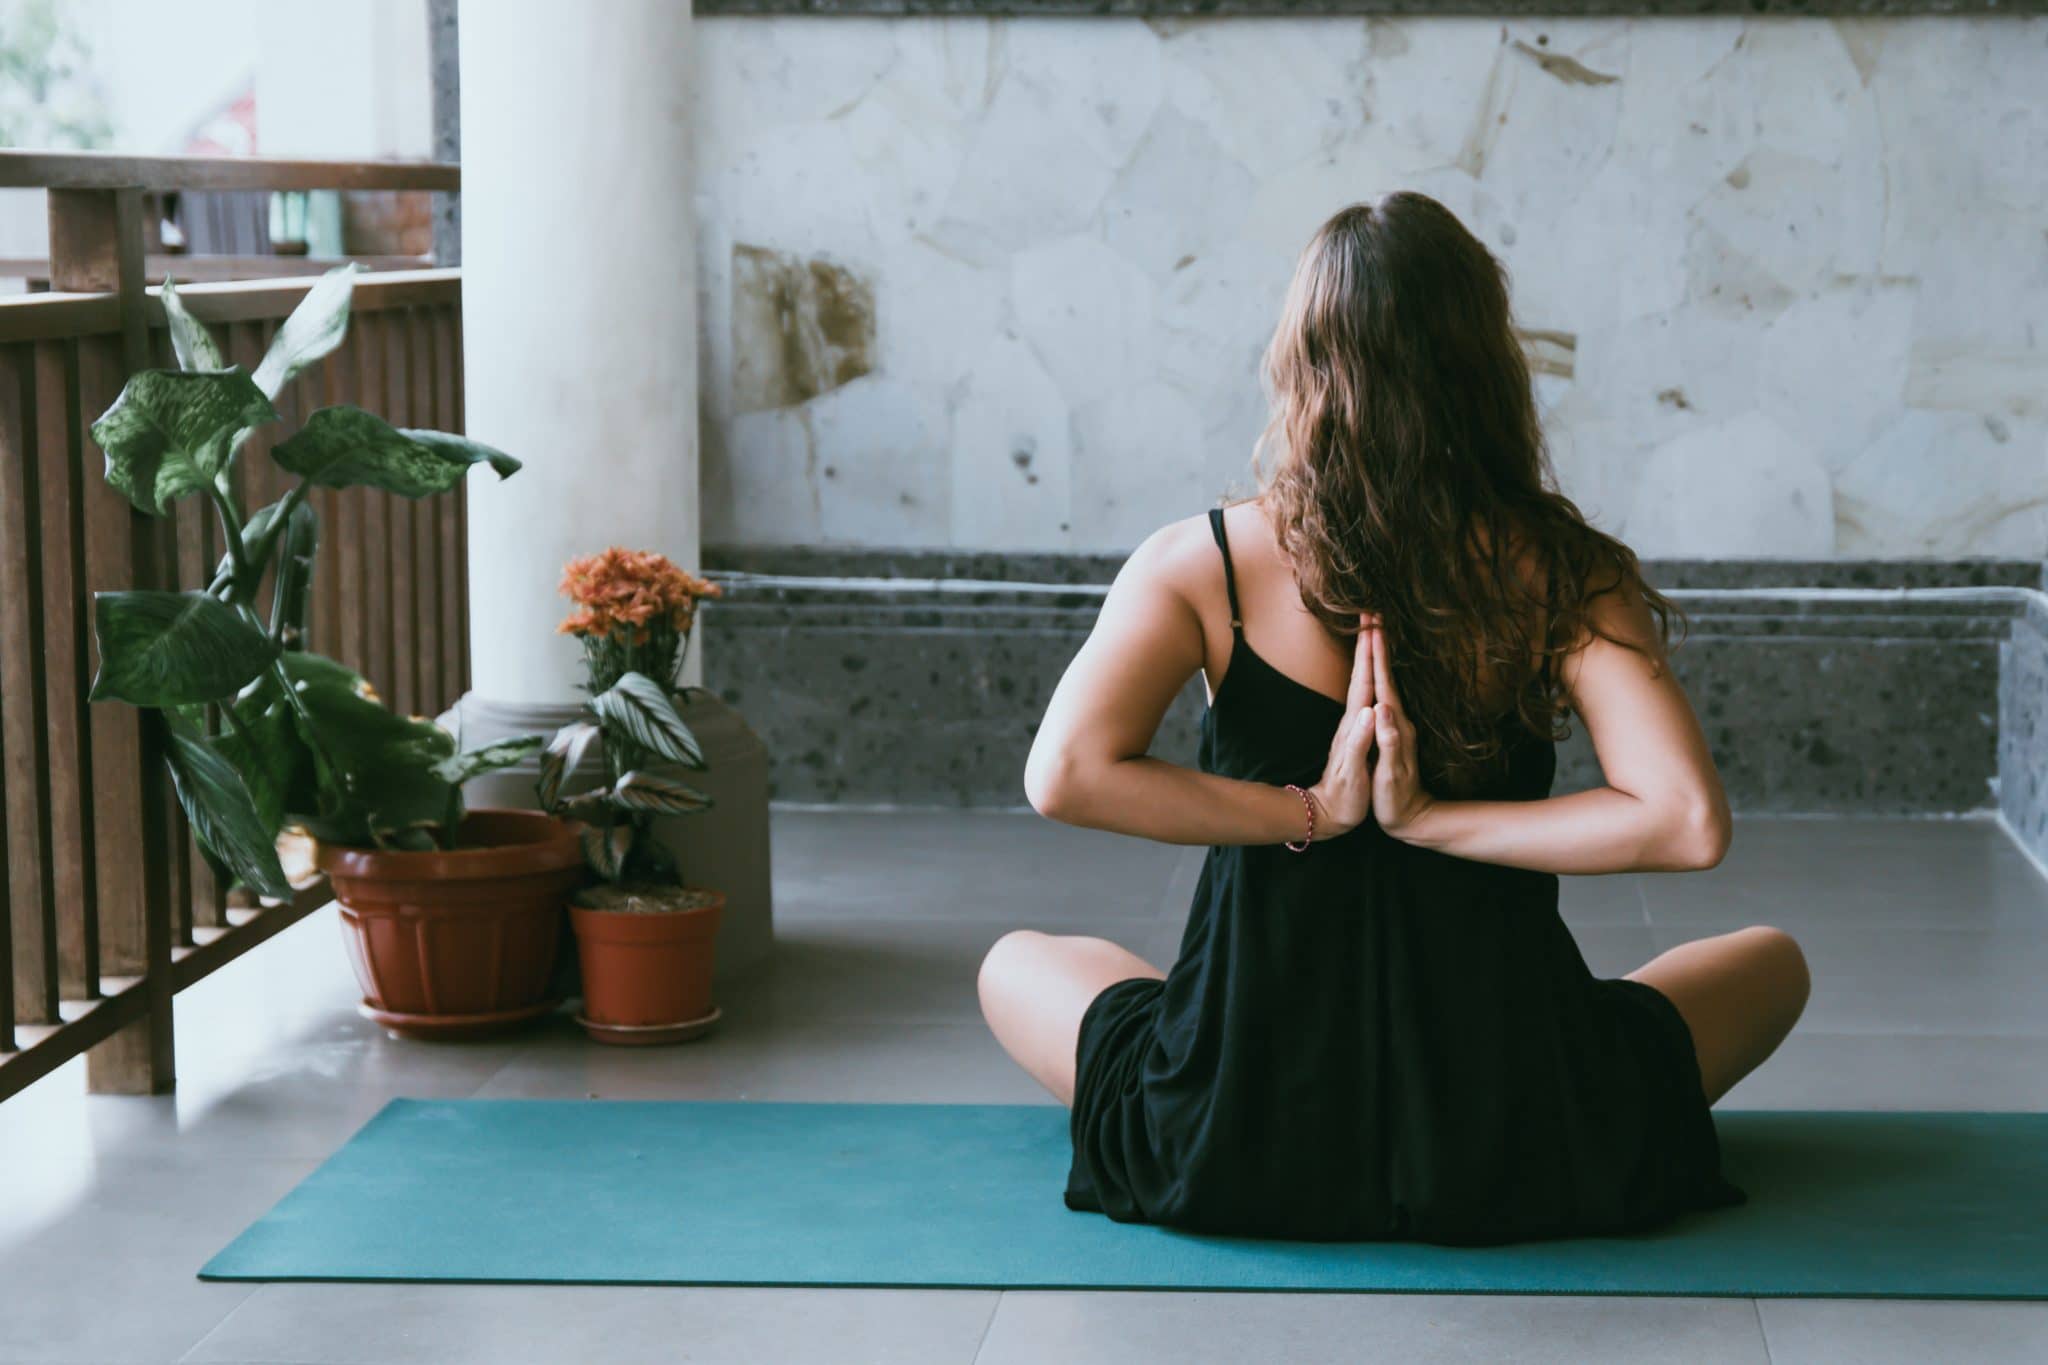
Bring one leg into Half Lotus Pose while holding onto the opposite foot with both hands for stability (or use a chair or table)
Bring one leg into Half Lotus Pose while holding onto the opposite foot with both hands for stability (or use a chair or table). If you don’t feel stable enough in this pose, hold onto your ankle instead. Once you have found some balance here we can move on to step five!
Hold this pose for 30 seconds before switching legs/hands/positions and holding for another 30 seconds
Hold this pose for 30 seconds before switching legs/hands/positions and holding for another 30 seconds. Lengthen your spine by sitting up nice and tall with shoulders back as you hold onto both feet or ankles (not toes!) to help keep the stability in this position. This is a great way to build in some stability before moving on to the next pose!
Repeat this twice more for a total of three times, switching legs each time.
Once you are done with all three rounds make your way back down onto your mat and take a moment to notice how good it feels get up off your knees after maintaining balance standing up like that! Try to bring that into your practice if you are doing this at home.
If you aren’t able to get your foot up onto your thigh, hold on tighter with both hands and use the support of a chair or table to help lengthen out through the spine until you feel strong enough to lift yourself off of it! If there’s no furniture around, you can also place your foot on the floor.
If it’s too hard to balance, try grabbing onto your ankle instead of holding onto both feet!
Once balanced in this pose for 30 seconds move on to step seven!
Repeat this twice more making sure that each time is done a total of three times before moving back down into the child’s pose.
Regular home practice will help you build up the strength needed to do this pose without any support!

Repeat steps 1-5 on the other side of the body, then return to the centre pose
Repeat steps one to five on the other side of your body, then return back into the centre pose! Take a moment here and notice how different it feels when you switch sides. How much better do you feel already? You might not be feeling like doing yoga right now but that will definitely change after completing this sequence!
When you are done, take a moment to notice how good it feels get up off your knees after maintaining balance standing up like that! Try to bring that into your practice if you are doing this at home.
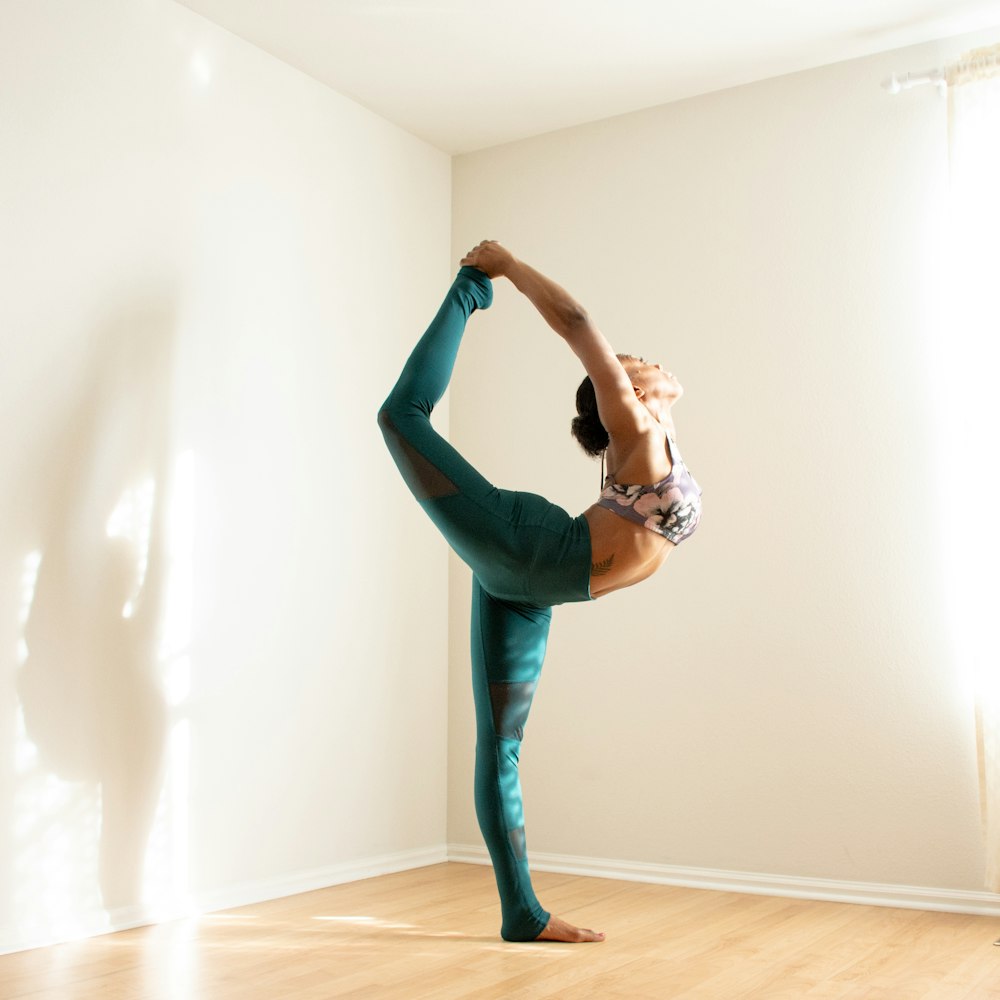
If you want a more challenging pose try lifting your foot up onto your thigh or even into half lotus!
Once balanced in this pose for 30 seconds move on to step seven! Repeat this twice more making sure that each time is done a total of three times before moving back down into the child’s pose.
Creating your own sequence
When you are creating sequences for home practise, try to keep it simple so you don’t get overwhelmed.
When creating sequences for your home yoga practice, try keeping it simple so you don’t get too overwhelmed! If something feels uncomfortable or if there are certain poses that feel better than others then skip them and only work on the ones that make you feel good! You can always go back to them later on. As long as you have a well rounded practice you will see improvements.
If there is a specific pose you would like to try head over to our other blog and check out all the different poses.
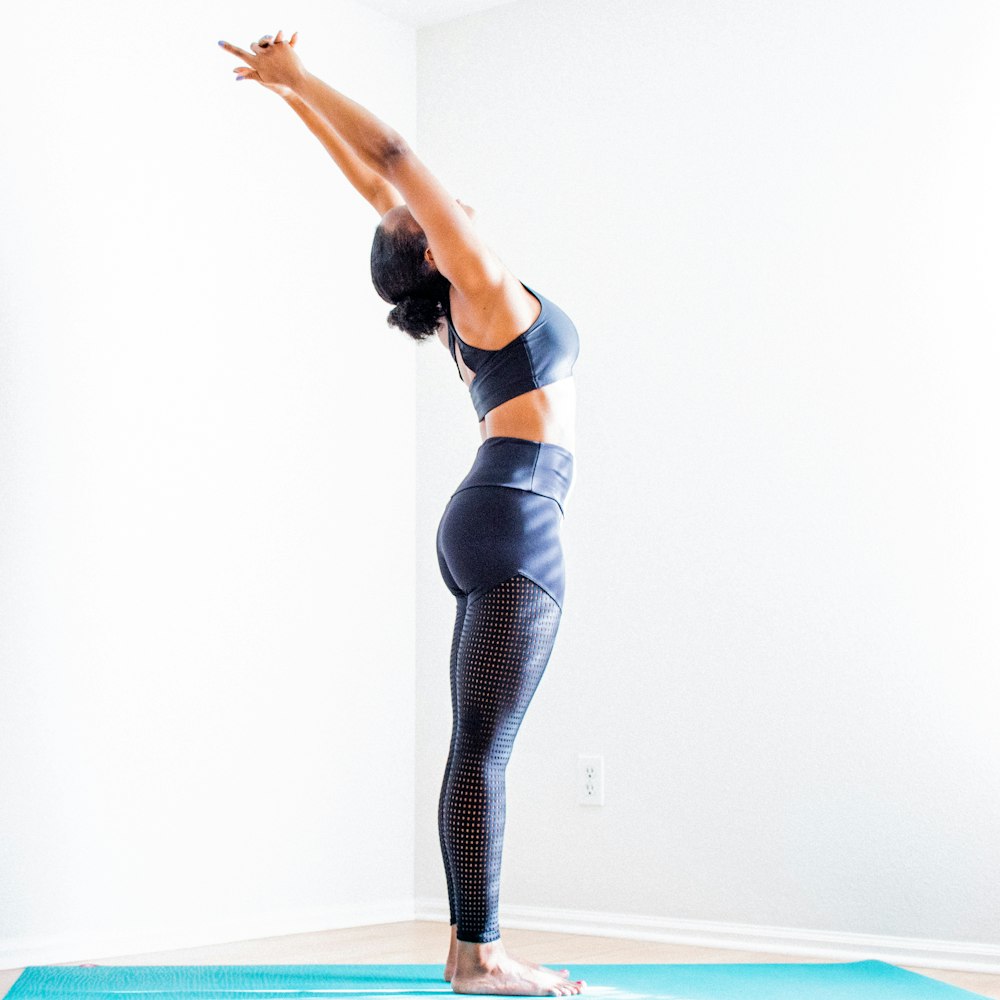
Standing poses are likely to be the easiest ones so if you are a beginner we recommend you start out with standing poses.
Final thoughts
If you are looking for an easy way to practice yoga at home, this sequence of 13 poses is a great place to start. It will leave you feeling refreshed and relaxed as well as help build your confidence in balancing one leg. If you want a more challenging pose try lifting your foot up onto your thigh or even into half lotus! When creating sequences for home practise, try keeping it simple so you don’t get too overwhelmed. As long as there is variety in the types of poses practised each day, all kinds of benefits can be gained including improved flexibility and increased focus which leads to greater productivity. And that’s just scratching the surface with what regular yoga has to offer! If you have any questions about how these principles could work for you or if there’s anything else we can help with, please feel free to get in touch!